How to Take a Professional Headshot

A professional headshot is often the first impression you give online—whether on LinkedIn, your company website, or a personal portfolio. A polished photo communicates confidence, credibility, and approachability. But the question many people ask is: how do you take a professional headshot without spending hundreds of dollars on a photographer?
The good news is, with the right setup (and some smart AI tools like FastHeadshot), you can capture or generate a headshot that looks like it came straight out of a studio.
In this guide, we’ll cover everything you need to know about taking a professional headshot, step by step.
Why Professional Headshots Matter
Your headshot isn’t just another picture—it’s a part of your personal brand.
- On LinkedIn: Profiles with professional photos get up to 21x more profile views.
- On resumes or CVs: A headshot adds a human touch and makes you more memorable.
- On company websites: Clients and colleagues form trust based on visual presentation.
A casual selfie or cropped vacation picture can send the wrong signal. A professional headshot, by contrast, shows that you take yourself—and your career—seriously.
👉 Image Idea: Show a comparison graphic—selfie vs. professional headshot.
Step 1: Choose the Right Background
A background can make or break your headshot. Keep it simple and distraction-free so the focus remains on your face.
- Neutral colors: White, light gray, or soft blue are safe choices.
- Office setting: A blurred workplace background can give a professional vibe.
- Outdoor setting: Natural light with greenery works if you want a friendly, approachable look.
💡 Pro Tip: If your background isn’t perfect, don’t worry. Tools like FastHeadshot let you replace or blur backgrounds instantly, so you can test multiple styles with one photo.
👉 Image Idea: A sample of the same person with 3 different backgrounds (plain, office, outdoor).
Step 2: Master the Lighting
Lighting is the most important element in photography. Even with a good camera, poor lighting ruins the image.
- Best option: Natural light from a large window. Position yourself facing the light.
- Avoid: Overhead lights or harsh direct sunlight, which create unflattering shadows.
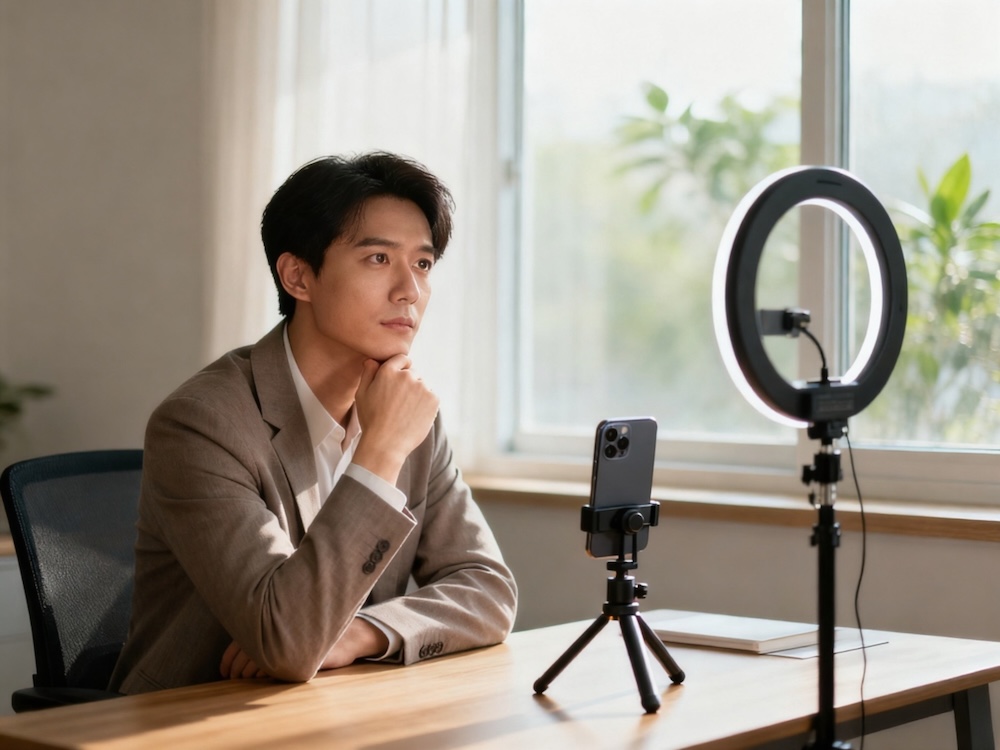
- DIY setup: Use a ring light or a desk lamp with soft diffusion (like a white sheet of paper) to mimic studio lighting.
👉 Image Idea: Diagram showing ideal headshot lighting setup—person facing a window with soft light.
Step 3: Dress the Part
Your outfit should reflect the impression you want to give.
- Corporate/LinkedIn: A blazer, collared shirt, or simple dress works best.
- Creative fields: You can go slightly more casual but still neat.
- Avoid: Busy patterns, neon colors, or logos that distract from your face.
💡 Tip: Stick to solid colors that contrast well with your background.
Step 4: Perfect Your Pose and Expression
Your body language matters just as much as your outfit.
- Posture: Sit or stand up straight, shoulders slightly back.
- Head angle: Turn your body slightly (not straight-on) and tilt your chin slightly down.
- Expression: A natural smile or soft confidence works best—avoid forced grins.
👉 Image Idea: Example poses—neutral expression vs. approachable smile.
Step 5: Use the Right Equipment
You don’t need an expensive DSLR. Today’s smartphones are powerful enough for headshots.
- Tripod or stand: Keeps the camera stable and avoids awkward arm’s-length selfies.
- Camera settings: Use portrait mode to blur the background slightly.
- Remote shutter: Use a Bluetooth remote or timer function to capture natural poses.
If you can’t get a sharp, high-quality image, don’t worry—AI tools like FastHeadshot can enhance clarity and fix imperfections automatically.
Step 6: Edit and Enhance Your Headshot
Even the best raw photo can benefit from slight adjustments:
- Crop to frame your face and shoulders.
- Adjust brightness and contrast for balance.
- Retouch lightly—remove harsh shadows or blemishes, but avoid over-editing.
This is where AI headshot generators shine. Instead of struggling with Photoshop, you can upload your selfie and let FastHeadshot instantly:
- Improve lighting,
- Smooth skin naturally,
- Adjust background,
- Generate multiple professional variations.
👉 Image Idea: Before/after comparison (raw selfie → polished AI headshot).
Step 7: Know When to Use AI for Headshots
If setting up lights, backgrounds, and cameras feels overwhelming, you don’t need to hire a photographer. AI tools like FastHeadshot let you take a simple photo at home and transform it into a studio-quality headshot in minutes.
This is perfect for:
- Job seekers who need a LinkedIn-ready photo quickly.
- Remote professionals who don’t want to book expensive photoshoots.
- Entrepreneurs who need multiple headshots for different platforms.
Common Mistakes to Avoid
Even with the right setup, many people make these errors:
- Using selfies with arms visible in the frame.
- Cropping a group photo instead of taking a real headshot.
- Choosing a cluttered or busy background.
- Over-editing to the point of looking unnatural.
Conclusion
So, how do you take a professional headshot? It comes down to:
- Clean background.
- Good lighting.
- Proper outfit and posture.
- A sharp, high-resolution image.
But here’s the truth: not everyone has the time, space, or equipment to get it right. That’s why AI-powered solutions like FastHeadshot are changing the game. With just a selfie, you can instantly generate multiple professional headshots that look like they came from a studio.
Want to skip the stress of setting up lights and backgrounds? Upload your photo to FastHeadshot today and create a professional headshot in seconds.
